Transform Your Garage with Versatile Flooring Solutions: Interlocking Tiles vs. Traditional Coatings
The garage is no longer just a place to park your car – it's becoming an extension of living space for many homeowners. A quality garage floor coating or covering is essential for durability, maintenance, and aesthetics. Among the most popular modern options are interlocking garage floor tiles, which offer a practical alternative to traditional epoxy coatings. This article explores the benefits, features, costs, and installation process of modular garage flooring solutions available in Australia, helping you make an informed decision for your garage renovation project.

Benefits of Interlocking Garage Floor Tiles for Minimal Installation
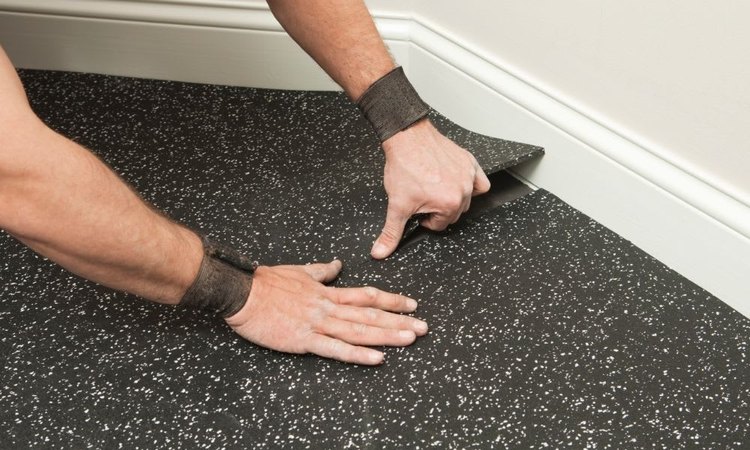
Interlocking garage floor tiles have gained popularity in Australia due to their easy installation process. Unlike epoxy coatings that require extensive surface preparation and curing time, these modular tiles simply snap together without adhesives or special tools. This DIY-friendly approach means you can transform your garage floor in hours rather than days.
The minimal installation requirements also eliminate many common problems associated with traditional coatings. There’s no need to worry about proper ventilation during application, temperature requirements, or extensive surface preparation. Simply ensure your concrete floor is relatively clean and level, then start laying tiles. For homeowners with limited time or technical skills, this accessibility is a significant advantage.
Another key benefit is the ability to install these tiles over slightly imperfect surfaces. Minor cracks, stains, or uneven areas can often be covered without extensive repairs beforehand, saving both time and money in preparation work.
Key Features of Modular Garage Flooring in Australia
Australian modular garage flooring systems offer several features designed specifically for the country’s unique conditions. Most quality interlocking tiles available in the Australian market are UV-resistant, an essential quality considering the harsh sunlight many garages experience. This UV protection prevents fading and degradation even when garage doors remain open for extended periods.
Water resistance is another crucial feature of modern garage floor tiles in Australia. Many products feature drainage systems that allow water to flow underneath the tiles rather than pooling on the surface. This design is particularly beneficial in coastal areas or regions with high humidity, as it helps prevent mold and mildew growth beneath the flooring.
Australian-available modular flooring also comes in varying load capacities. Standard residential options typically support 5,000-10,000 kg per square meter, sufficient for most passenger vehicles. However, for workshops or garages housing heavier equipment, specialized heavy-duty tiles rated for up to 20,000 kg per square meter are available.
Cost Considerations for DIY Garage Floor Upgrades
When planning a garage floor upgrade, budgeting appropriately is essential. Interlocking garage floor tiles in Australia typically range from $25 to $75 per square meter, depending on material quality, thickness, and design. Basic PVC tiles represent the lower end of this spectrum, while premium polypropylene tiles with enhanced durability features occupy the higher end.
Beyond the tiles themselves, additional costs may include underflooring for insulation or moisture protection ($5-15 per square meter), edge transitions ($10-30 per linear meter), and specialist cleaning solutions for maintenance ($15-40 per bottle). For a standard single-car garage of approximately 18 square meters, the total material cost typically ranges from $450 to $1,350.
Compared to epoxy coatings, which may cost $35-$150 per square meter including professional installation, interlocking tiles can be more cost-effective when factoring in the DIY aspect. However, it’s important to consider longevity—premium tiles may last 10-15 years, while a professional epoxy coating might last 20+ years with proper care.
| Flooring Type | Average Cost/m² | DIY Friendly | Estimated Lifespan |
|---|---|---|---|
| Basic PVC Tiles | $25-$35 | Very High | 5-8 years |
| Premium Polypropylene Tiles | $45-$75 | High | 10-15 years |
| DIY Epoxy Kit | $35-$70 | Moderate | 5-10 years |
| Professional Epoxy | $80-$150 | Low | 15-25 years |
Prices, rates, or cost estimates mentioned in this article are based on the latest available information but may change over time. Independent research is advised before making financial decisions.
Step-by-Step Guide to Installing Interlocking Garage Tiles
Installing interlocking garage tiles is a straightforward process that most homeowners can complete in a day. Here’s a comprehensive step-by-step guide:
-
Preparation: Clear everything from your garage and thoroughly clean the floor. Remove oil stains with a degreaser and allow the surface to dry completely.
-
Planning: Measure your garage and calculate the number of tiles needed. Consider starting from the center and working outward for the most balanced appearance. Allow for a 1-2 cm gap around the perimeter for expansion.
-
Layout: Place tiles in the planned starting position without connecting them to visualize the pattern and make any necessary adjustments.
-
Installation: Begin connecting tiles from your starting point. Most interlocking systems work with a simple press-down motion or by tapping with a rubber mallet. Work in rows or sections, ensuring tight connections between each tile.
-
Edge Trimming: For areas requiring custom sizing, most tiles can be cut using a jigsaw or utility knife. Measure carefully and wear appropriate safety equipment during cutting.
-
Finishing: Install edge pieces or transition strips where the tile flooring meets other surfaces. These create a clean, finished appearance and reduce trip hazards.
-
Final Inspection: Once installed, walk the entire surface checking for loose connections or uneven areas. Make adjustments as needed before returning items to the garage.
Interlocking Tiles vs Traditional Epoxy Flooring Comparison
When deciding between interlocking tiles and epoxy flooring for your Australian garage, several factors deserve consideration. Epoxy coatings provide a seamless, high-gloss finish that many homeowners find aesthetically pleasing. However, they require extensive preparation, including etching concrete and patching cracks, plus 2-7 days of curing time before use.
Interlocking tiles offer immediate usability—once installed, you can immediately park vehicles and place items on the surface. This convenience is particularly valuable for households with only one garage that cannot be out of commission for extended periods.
Maintenance requirements also differ significantly. Epoxy surfaces may show scratches and can be challenging to repair in specific areas. In contrast, damaged interlocking tiles can be individually replaced without disturbing the surrounding floor. This modularity extends to customization as well—tiles can be arranged in patterns or colors to create personalized designs.
Climate adaptability favors interlocking tiles in regions experiencing extreme temperature fluctuations. Epoxy can develop cracks and separations during expansion and contraction cycles, while the small gaps between properly installed tiles allow for natural movement without damage.
For garages that occasionally experience moisture issues, raised interlocking tiles offer better protection. The elevation allows air circulation beneath the surface, reducing problems with mold and trapped moisture that can affect epoxy bonding.
The garage floor covering you choose ultimately depends on your specific needs, budget, installation preferences, and long-term maintenance expectations. Both options have transformed countless Australian garages, but the growing popularity of interlocking tiles reflects their practical advantages for contemporary homeowners seeking flexible, durable flooring solutions.


